What is the Light Planner?
The Light Planner calculates when moon or sun will stand exactly behind a subject — to the minute. It offers two modes: the forward search (you know your position and the subject) and the reverse search (you only know the subject and are looking for the right position).
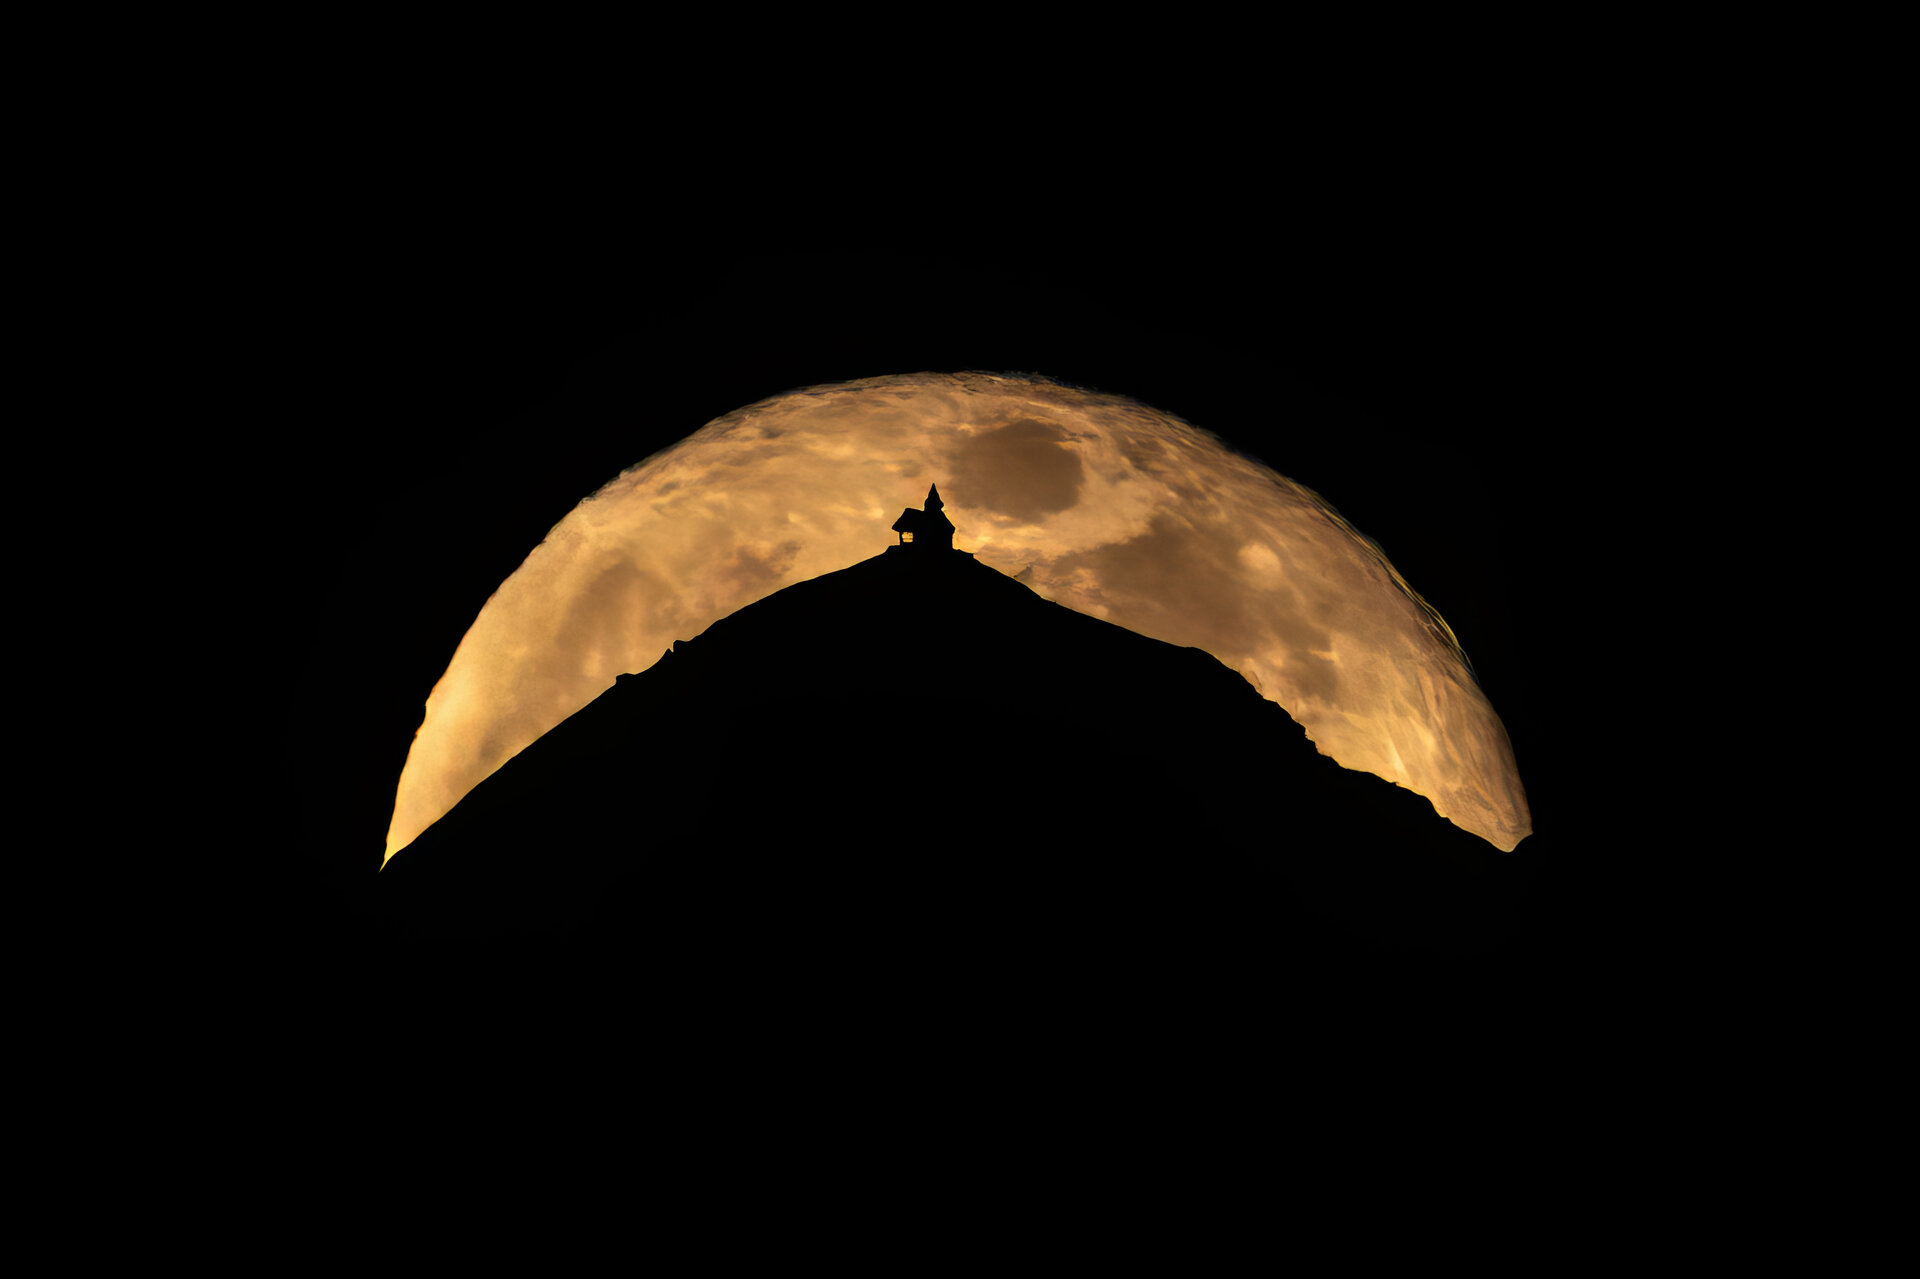
The photo above is the result of exactly this kind of planning: moonrise behind the Kellerjoch Chapel, 16 km away, predicted to the minute. This page explains how it works.
I know my position and the subject
You know where you are shooting from and which object the moon or sun should rise behind. The planner shows you all matching times in the selected period.
Choose sun or moon
Use the pill toggle at the top of the page to choose whether you are planning for sun or moon. This choice affects the entire search — rise and set times, the displayed preview and the full moon filter.

Set subject
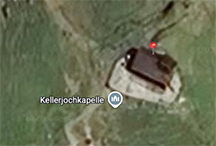
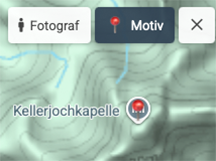
The 📍 Subject button is active by default — just click directly on the map and place the marker exactly on the tip of your subject: mountain peak, church tower, chimney. The planner instantly calculates bearing and distance.
Set photographer position
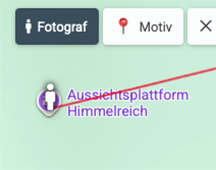
Click the Photographer button in the top left of the map, then click your position on the map. The search field (bottom left) or the GPS button (right) also work. You can refine the marker later by drag & drop.
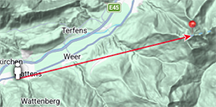
Both markers set: the photographer's position (person) and the subject (pin) are connected by a line. The status bar shows bearing and distance — only then does the search start.
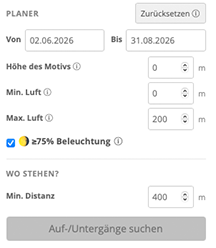
Set time range and filters
Set the search period in the right column (default: today to +90 days). The search starts automatically once both markers are placed. Optional: enable 🌖 ≥75% illumination to see only near-full-moon nights (only visible in moon mode).
— Height of subject: Physical height of the structure/peak above the ground point (e.g. church tower 25 m, mountain peak 0 m). Affects the calculated impact angle.
— Min. clearance / Max. clearance: Filters results by the gap between the subject tip and the lower edge of the celestial body. 0 m = moon sits exactly on the tip.
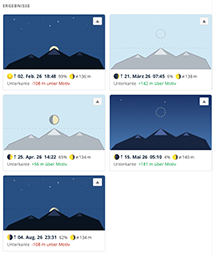
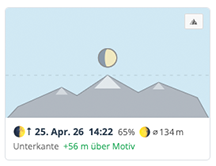
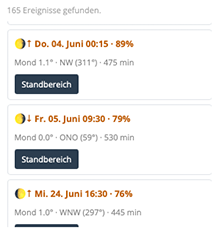
Reading results: height above subject & moon size
Each result card shows the time, moon phase (for moon) and the height above subject — the distance in metres between the subject tip and the lower edge of the celestial body.
+18 m = 18 m gap between tip and lower edge
−4 m = celestial body has already disappeared 4 m behind the tip
Focal length tip: To make moon or sun appear large in the frame, you need a long zoom (400–600 mm) and a distant shooting position — not wide angle. The greater the distance to the subject, the more similar the apparent angular sizes of subject and moon through a telephoto lens.
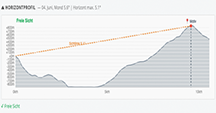
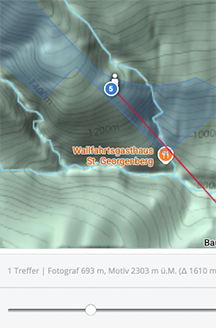
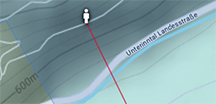
Check horizon profile — does terrain block the view?
Click ⛰ Horizon profile in a result card. The planner loads real terrain heights along the line of sight and shows a cross-section of whether a ridge or crest between your position and the subject would obscure the moon shortly after it rises.
Moon blockedTerrain obscures the moon
Line of sight blockedTerrain ridge in front of the subject breaks the view
I know the subject — where do I need to stand?
You know which mountain or structure the moon or sun should rise behind — but not where to shoot from. The reverse search flips the question and shows a blue highlighted zone on the map with selected valid photographer positions. You then narrow this zone down to a specific point using the forward search.
Set the subject only
The 📍 Subject button is active by default — click directly on the map and place the marker on your target: mountain peak, chapel, tower. You do not need a photographer marker for the reverse search.
Set parameters
In the right column under Where to stand?, configure:
| Parameter | Meaning | Recommendation |
|---|---|---|
| Period | From–to date for the search | Default: today +90 days |
| Height of subject | Physical height of the structure/peak above the ground point | Church tower ≈ 25 m, mountain peak = 0 m |
| Min. clearance | Minimum gap: subject tip → lower edge of moon/sun | 0 m = exactly on it, 20 m = a little clearance |
| Max. clearance | Maximum gap: subject tip → lower edge of celestial body | 50–200 m depending on desired look |
| Min. distance | Minimum distance from photographer to subject | 400 m (default) up to several km |
Find rise/set events
Click Find rise/set events. The planner first loads the terrain profile (elevation data) around the subject, then searches the entire period. The result: a list of all moon or sun rises/sets where the celestial body is at the right height above the subject.
Choose event → position zone appears
Click an event: a blue highlighted zone appears on the map with selected valid photographer positions — locations from which the moon or sun will be at the desired height above the subject at the chosen time. Positions where terrain blocks the view are automatically excluded.
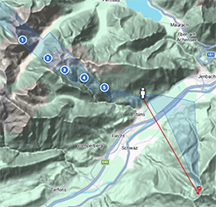
Slider: explore positions
A slider appears below the map. Move it left or right — the marked point on the zone moves with it, and you see live: distance to subject, direction and the exact time for that position. The zone typically does not follow a smooth curve but an irregular zigzag — caused by elevation differences in the terrain. This helps you find the point that best suits the subject — near a road, a viewpoint or a spot on the map.
Refine position — use forward search as a check
Try further points in or near the blue zone to find a more accessible position — road, car park, viewpoint. Place the photographer marker on a candidate: the forward search immediately shows whether the point is a good match (height above subject, horizon profile).
How the photo was taken — Kellerjoch Chapel
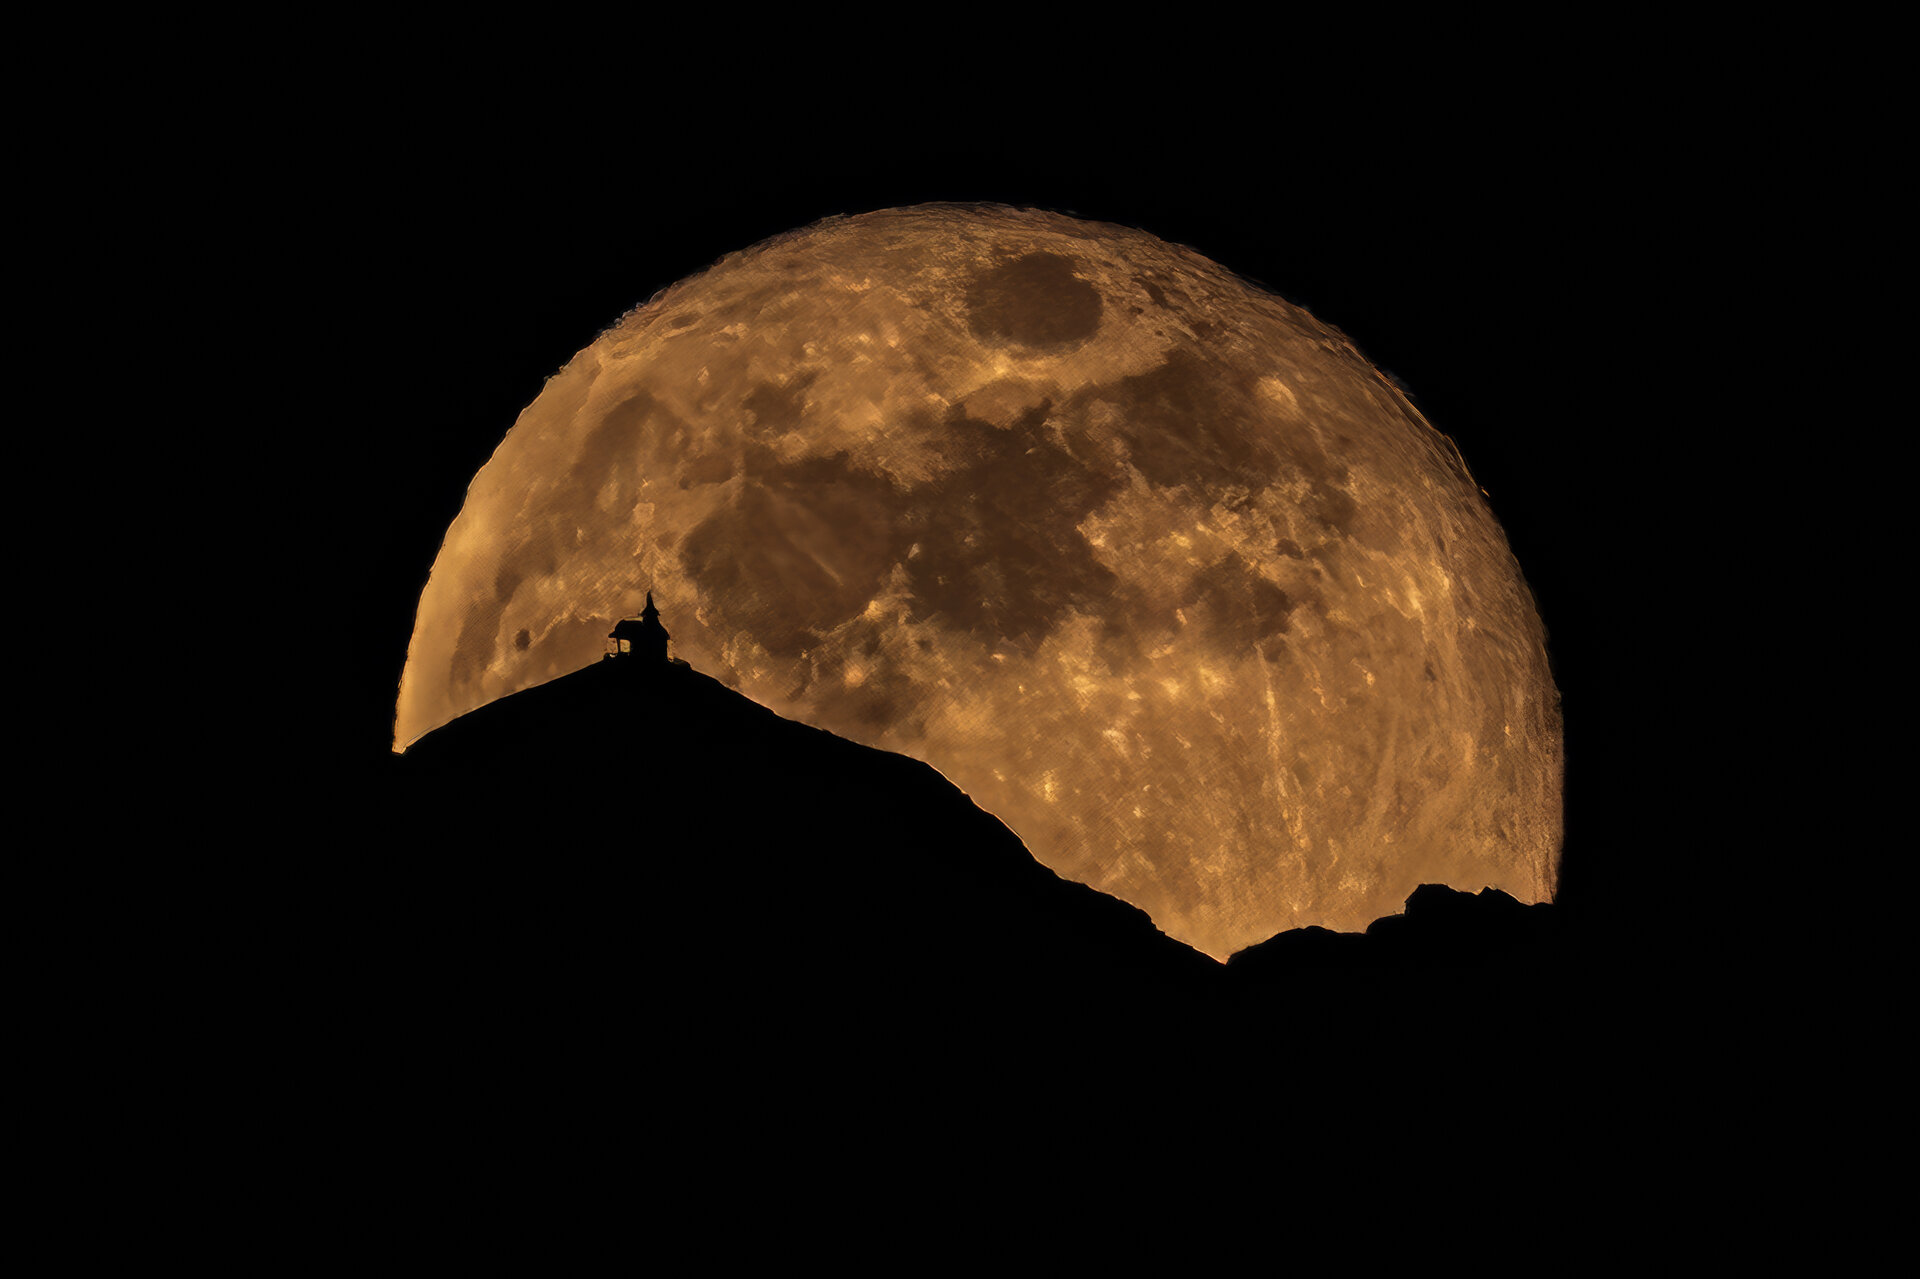
Moonrise behind the Kellerjoch Chapel
| Mode | Forward search — position and subject known |
| Shooting location | Viewpoint Himmelreich, Wattens (47.288° N, 11.582° O) |
| Subject | Kellerjoch Chapel, Tux Alps (~47.293° N, 11.745° O, ~1900 m) |
| Bearing | 75° (ENE) · distance approx. 16 km |
| Celestial body | Moon (full moon, 99 % illumination) |
| Match | February 2, 2026, 6:49 PM (moonrise) |
| Height above subject | −61 m (moon lower edge 61 m below chapel tip) |